
Experiencing issues with your lighting system? It’s crucial to check the electronic unit responsible for managing these functions. Many owners have reported symptoms such as flickering lights, unexpected activation, or complete failure. These signs often point to malfunctions within the unit, necessitating immediate attention.
Regular diagnostics can help identify problems early on. Look for signs like dim lighting or discrepancies in beam alignment, which may indicate that the unit is struggling. Advanced scan tools are recommended for accurate assessments, as they can reveal error codes associated with the lighting system.
If replacement is needed, opt for original equipment manufacturer parts to ensure compatibility and longevity. Third-party units may lead to further complications. Professional installation is advisable to avoid misconfiguration, preserving the integrity of your automotive lighting.
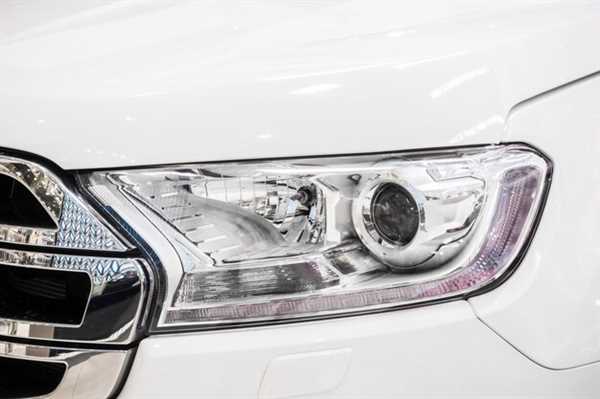
Diagnosing Flickering Headlights in Audi Models
Check the wiring connections for signs of wear or corrosion. A loose or damaged connection can cause inconsistent light output.
Inspect the relay associated with the lighting system. A faulty relay may not maintain a stable connection, leading to flickering beams.
Test the voltage at the bulbs. Inconsistent voltage readings can indicate issues with the electrical system, necessitating a closer examination of the wiring harness.
Examine the fuses related to the lighting circuit. A blown fuse might affect the operation, causing irregular flickering.
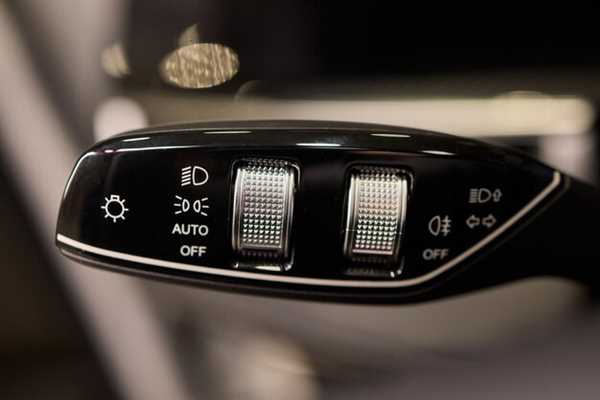
Look into the lighting control switch. Malfunctions in the switch can trigger unpredictable behavior in the illumination system.
Assess the bulbs themselves; replace any that show signs of damage or excessive wear, as failing bulbs often exhibit flickering.
Consider software updates for the onboard system. Outdated software may contribute to lighting inconsistencies and should be checked for compatibility with the existing hardware.
If issues persist, consult a professional for a thorough diagnostic of the entire electrical system, ensuring all components are functioning as intended.
Understanding Common Error Codes Related to Headlight Modules
For immediate troubleshooting, check error code P0A00. This indicates a failure in the power circuit linked to the lighting system. Inspect wiring and connections for wear or corrosion.
Error B10A4 points to a malfunction in the adaptive lighting feature. Verify sensor alignment and operational status to ensure precision in beam adjustment.
Keep an eye on code U0415, which signifies a communication issue between the control systems. This may require a diagnostic scan to identify affected components or wiring faults.
Code C10B0 is related to a short circuit within the lamp assembly. Examine the housing and connectors for damage that may cause intermittent failure.
If you encounter U1111, it suggests an anomaly in the module data transmission, often remedied by recalibrating the control settings with a specialized tool.
For persistent error signals, consider a software update for the lighting system to rectify potential bugs in the programming that could prevent proper function.
Continuous monitoring of these codes through an OBD scanner will facilitate timely responses to issues that may arise with the lighting configuration.
Replacing the Headlight Control Module: A Step-by-Step Guide
Gather necessary tools: Ensure you have a socket set, screwdriver, and a replacement unit ready before starting the task.
Disconnect the battery: For safety, disconnect the negative terminal first. This prevents any accidental short circuits while working on the electrical components.
Access the location: Depending on the model, you may need to remove covers or panels to reach the unit. Check your service manual for specific instructions regarding the exact placement.
Remove the old component: Unscrew or unclip the existing piece. Keep track of any screws or clips to avoid losing them during the process.
Disconnect wiring harnesses: Carefully unplug any connectors attached to the unit. Take note of their orientation to aid reinstallation of the new piece.
Install the new unit: Attach the new piece by connecting the wiring harnesses in the same order as they were removed. Ensure they click into place to prevent any loose connections.
Secure with screws or clips: If applicable, fasten the new unit using the screws or clips you previously removed. Double-check for tightness to ensure it’s mounted securely.
Reinstall covers or panels: If you removed any exterior parts to access the component, reinstall them now, ensuring everything is in its rightful place.
Reconnect the battery: Reattach the negative terminal. Make sure it’s secure to enable proper electrical flow.
Test functionality: Turn on the ignition and test the new unit to confirm that the headlights function properly. Adjust as needed if there are any issues.

