
The ideal timeframe for exchanging the coolant circulation unit typically ranges between 60,000 to 80,000 miles, depending on the specific engine model and driving conditions. Regular checks should be conducted to identify any signs of wear or leaking which may necessitate earlier intervention.
It is prudent to adhere to the manufacturer’s guidelines outlined in the owner’s manual, as these recommendations account for various factors including engine type and climate. Owners should look for signs such as unusual noises, overheating, or coolant discoloration, which can indicate the need for immediate service.
Performing thorough inspections at routine maintenance intervals can prolong the life of the cooling system, ensuring optimal performance and preventing potential engine damage. Taking proactive steps can save both time and expense in the long run.
Understanding Audi Water Pump Lifespan and Factors Influencing Wear
The typical lifespan of a cooling system component ranges from 60,000 to 100,000 miles, although certain conditions can affect longevity. Factors like coolant quality, operating temperature, and maintenance practices play a significant role. Regularly flushing the cooling system and using manufacturer-recommended fluids can extend the functional period.
Heat cycles greatly influence wear; frequent temperature fluctuations can lead to material fatigue over time. Additionally, contaminants in the coolant can cause corrosion and deterioration, making it essential to maintain system integrity. Check for signs of leakage or unusual noises, as these can indicate impending issues.
Environmental factors, such as driving conditions and climate, can also affect durability. Vehicles frequently exposed to extreme temperatures or stop-and-go traffic may experience reduced efficiency. It’s advisable to inspect components during routine service intervals for optimal performance and longevity.
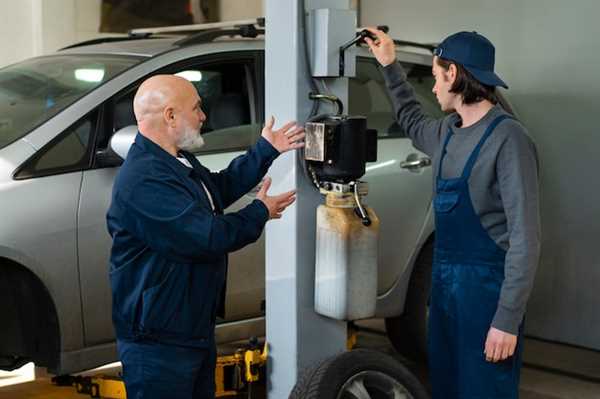
Signs Indicating It’s Time for a Water Pump Replacement
If you notice coolant leaks under your vehicle, it’s a strong signal to consider a new unit. Inspect for any signs of liquid puddling near the front of the engine.
Unusual noises, such as grinding or whining sounds, may indicate impending failure. Pay attention to these auditory cues during operation, as they can signify serious issues.
Overheating is a clear indicator that the circulation mechanism may be malfunctioning. If the temperature gauge rises unexpectedly, addressing this issue is crucial.
Inconsistent heating inside the cabin can also result from a failing component. If your heater isn’t providing adequate warmth, it may link to circulation problems.
Check for visible wear on the exterior, such as cracks or corrosion. These physical deteriorations can compromise performance, necessitating attention.
Regularly monitor the engine’s temperature throughout your driving experience. Sudden fluctuations should prompt immediate inspection of the entire cooling system.
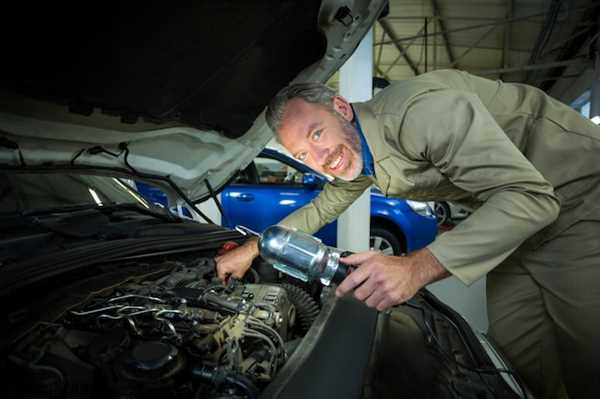
Step-by-Step Guide to Replacing Your Audi Water Pump
Gather necessary tools: socket set, wrench, coolant, and a container for fluid collection.
Step 1: Disconnect the battery’s negative terminal to ensure safety during the procedure.
Step 2: Drain the cooling system by removing the drain plug or lower radiator hose and collect the old coolant in the container.
Step 3: Remove any components obstructing access to the device, such as the timing belt cover if applicable. Keep track of all screws and parts.
Step 4: Detach the existing unit by unscrewing it from the engine block, ensuring no debris enters the system.
Step 5: Clean the mounting surface thoroughly to remove any residue or old gasket material.
Step 6: Install the new component with a fresh gasket, tightening the bolts to the manufacturer’s specifications.
Step 7: Reassemble all removed parts, reconnecting hoses and components in the reverse order of removal.
Step 8: Refill the cooling system carefully with fresh fluid, avoiding air pockets. Check the manufacturer’s guidelines for the correct mixture and type.
Step 9: Reconnect the battery’s negative terminal and start the engine. Monitor for leaks and ensure the system reaches normal operating temperature.
Step 10: After confirming there are no leaks, perform a final check of coolant levels and make any necessary adjustments.