Regular maintenance checks are imperative for ensuring an efficient cooling system, particularly in vehicles with numerous miles on the odometer. Watch for signs of leaks, such as coolant puddles beneath the engine compartment, which may indicate worn hoses or connections requiring immediate attention.
Check the temperature gauge frequently. An engine running hotter than normal signals potential cooling system malfunctions. Inspect components like the cap and fan operation; a defective fan can lead to overheating. Ensuring these parts are in working order is vital for avoiding catastrophic engine damage.
Corrosion represents another challenge faced by aging systems. Inspect the core for rust or debris buildup, as these can inhibit proper flow. Flushing the system regularly can help maintain optimal performance and extend the life of key components. Lastly, always use the recommended coolant type to prevent imbalances that could affect functionality.
Identifying Coolant Leaks in Audi Radiators

Check for visible signs of leakage such as puddles under the vehicle or wet spots around the cooling system components. Pay close attention to the junctions, valves, and hoses connected to the cooling apparatus.
Inspect the plastic end tanks and seams for cracks, which are common failure points. A thorough examination of the aluminum core can also reveal corrosion, contributing to fluid escape.
Use a cooling system pressure tester to pressurize the system. This can help pinpoint small leaks by generating visible weeping from threads and joints. Always monitor the pressure gauge for drops that indicate a fault.
If the engine exhibits overheating symptoms, check for any traces of coolant on the engine block or in the oil. This may suggest a deeper issue, necessitating further investigation or professional assistance.
Monitor the coolant level regularly. A drop in fluid without evident signs may indicate a slow leak, which can become severe over time. Employ fluorescent dye in the coolant for more extensive searches under UV light.
Address identified leaks immediately to prevent severe engine damage and maintain the efficiency of the vehicle’s thermal management system.
Common Causes of Radiator Overheating in Older Audis
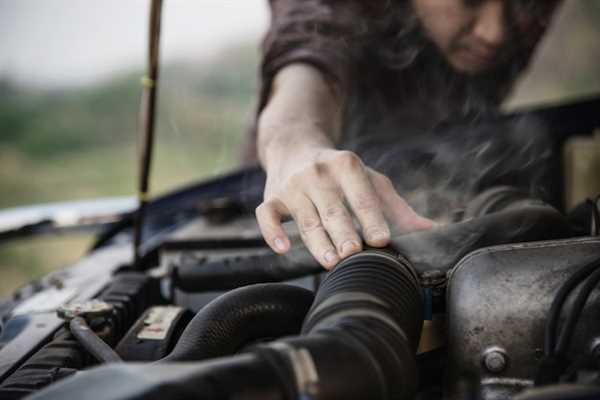
Check for leaks, as coolant loss is a primary factor in overheating issues. Inspect hoses and connections for any signs of damage or wear, which can lead to fluid escaping.
Thermostat failure can obstruct coolant flow, causing components to heat excessively. Replacing a malfunctioning thermostat is often necessary to restore optimal performance.
Corrosion within the cooling system may inhibit proper heat exchange, leading to elevated temperatures. Flushing the system and replacing old coolant can mitigate these effects.
A malfunctioning water pump can impede circulation, resulting in hotspots. Ensure that the pump is functioning correctly and replace it if any signs of wear are detected.
Clogged passageways within the heat exchanger reduce efficiency, necessitating routine checks to maintain free flow. Cleaning any blockages can aid in heat dissipation.
Fan operation is vital; an inoperative fan can lead to overheating. Testing electrical connections and the fan motor is advisable to identify any faults.
Regular maintenance is crucial to prevent overheating scenarios. Inspect all components of the cooling system periodically to address any potential issues before they escalate.
Steps to Repair Radiator Damage in Vintage Audi Models
Begin with a thorough inspection to identify leaks or cracks. Use a flashlight to examine connections and seams closely. If leaks are found, clean the surrounding area with a wire brush to ensure a proper seal.
Consider using a radiator repair epoxy or a patch kit specifically designed for metal repairs. Follow the manufacturer’s instructions for application. Ensure the repair area is dry and free from corrosion before proceeding.
Once the patch is applied, allow it to cure as recommended. After curing, test the integrity of the repair by refilling the system with coolant. Start the engine and observe for any signs of leakage around the repaired area.
If the damage is extensive, replacement may be necessary. Drain the coolant and disconnect all hoses and clamps attached to the unit. Carefully remove the damaged piece, taking note of the orientation for reinstallation.
Install the new component by reversing the removal process. Ensure all connections are secure and double-check tightness. Refill with coolant and run the engine to check for functionality and leaks.
Regular maintenance is critical to prevent future issues. Periodically flush the cooling system and replace the coolant according to the manufacturer’s recommendations.